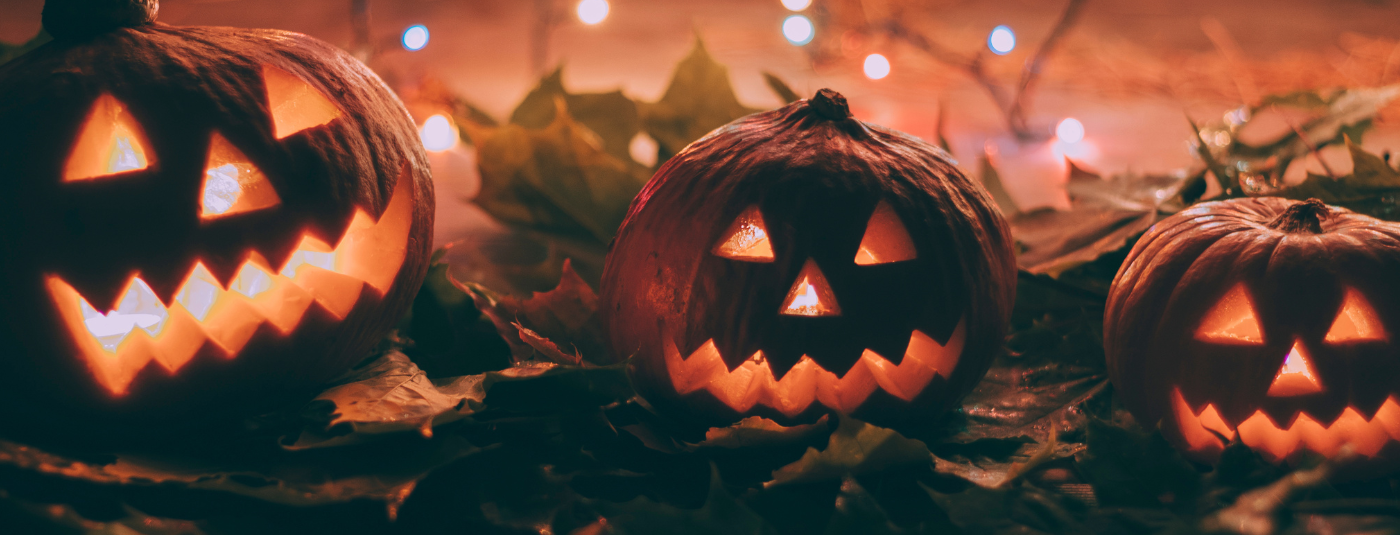
Get Spooky with Colour Powder: Creative Ways to Use It for Halloween
When it comes to Halloween, we all want to stand out and have a blast. Instead of sticking to the same old costumes, decorations and party games, why not add a splash of colour to your festivities? Colour powder isn’t just for fun runs or festivals; it can transform your Halloween into a colourful spectacle. Here are some cool ideas to get you started.
Spectacular Halloween Costumes
Why not use colour powder to create unique and eye-catching costumes? Imagine dressing up as a vibrant zombie or a colourful witch. Simply coat your costume with different shades of colour powder to give it a spooky yet playful look. Red colour powder is commonly used for blood, Green colour powder gives a putrid look, Orange colour powder embodies the Halloween spirit (resembling a pumpkin), White colour powder provides a ghostly look, and Black colour powder represents the darkness. Each powder sticks to fabrics easily, so you can let your creativity run wild without worrying too much about mess. Just be prepared for some colourful fun!
Unique Halloween Party Decorations
Planning a Halloween party? Colour powder can take your decorations to the next level. Use it to craft spooky centrepieces, fill jars, or even create funky table runners. You can layer different colours in glass containers to mimic potions brewing in the cauldron.
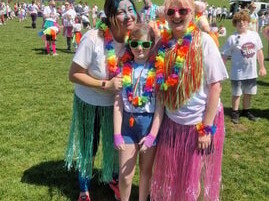
Spooky Games & Fun Activities for Kids
Kids love hands-on activities, and colour powder can be a blast at any kind of gathering. Create a mini colour party with a safe, supervised throw fest. Let kids toss colour powder at each other while wearing white T-shirts. To them, it’ll feel like magic! It’s a fantastic way to get them laughing and having fun. Consider a scavenger hunt where each find releases a burst of colour into the air. You can also play a spooky version of dodgeball, where players throw colour powder-filled bags instead of balls. It’s the fun twists on classic games that add a festive vibe everyone will remember.
Halloween Crafts with Rangoli
Crafting is another fun way to incorporate colour powder. You can create colourful Halloween-themed art with Rangoli and glue. Just think: spooky ghosts or spooky trees that can come alive with colour! Not only will this keep you busy, but it also lets your inner artist shine.
Wrapping Up the Fun
Colour powder can add that extra pop to your Halloween festivities, transforming the ordinary into extraordinary. Whether you’re dressing up, decorating, or just having fun with friends and family, it opens the door to creativity. So, why not embrace the colourful chaos this Halloween with safe and vibrant colour powders from Ministry Of Colours? Your celebration will be unforgettable!
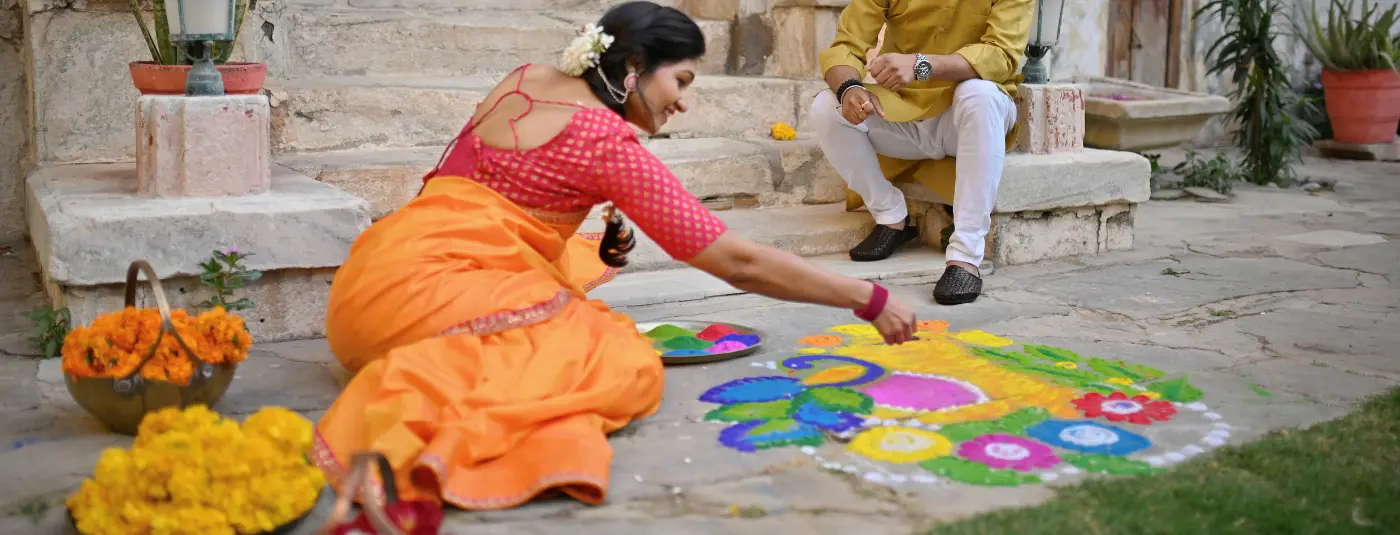
Rangoli 2025: How To Make Rangoli Art
As Diwali approaches, homes across India come alive with light, colour and joy. At the heart of these celebrations is the art of rangoli, a tradition that involves making intricate patterns in the entrances of homes as a way to invite the Goddess Lakshmi and other deities, while warding off negative energy and bringing joy to homes.
Making rangoli art can be a calming, mindful experience that many can enjoy outside of Diwali celebrations, whether as a creative hobby or a way to bring positive energy into a space. At Ministry of Colours, we’ve enjoyed making plenty of rangoli art over the years, so wanted to share our favourite tips, techniques and easy design ideas to help you create your own rangoli patterns in 2025.
What is the Meaning of Rangoli?
Rangoli is more than just a decoration, it’s a symbol of peace and a way to connect with the divine. The term rangoli derives from the Sanskrit rangavalli, with ranga meaning colour and valli meaning row or line, literally translating to a row of colours.
The origins of rangoli are explained throughout history and mythology. One popular legend traces its creation back to Lopmudra, the wife of a sage called Agastya who wanted to help her husband in worshipping the Gods, so she began to make rangoli art as a decoration for a place of worship. Lopamudra asked the Panchatatva (the five elements – sky, wind, earth, fire, water) to give her colours. She collected blue from sky, green from water, black from soil, red from fire and white from wind, which she then used to create the first rangoli pattern.

What is Rangoli Made Of?
How to Make Rangoli for Diwali
Creating your own rangoli designs at home is easier than it looks and can be a fun, family friendly activity that everyone can enjoy. It even makes for a great activity for schools and can be a creative way for teachers to educate students on the traditions of Diwali.
Rangoli art at home can either be made on a flat surface near the entrance of your home, as is traditional, or inside on a tabletop or even by glueing the design directly onto a piece of paper. Start by drawing a rangoli pattern either in pencil or chalk, then carefully fill in the patterns with coloured powders, rice or flower petals. If you’re new to rangoli art, work slowly, carefully following the design to keep the lines neat. To make this part of the process easier, we recommend using easy squeeze bottles filled with coloured sand or marble dust to allow for better control.
Once finished, add small diyas or tealights around or within your pattern to illuminate your rangoli and bring your design to life.

How to Draw Rangoli Patterns
Perhaps the most challenging part of creating rangoli art is getting started with a pattern. Some diwali rangoli designs can be quite complex and intricate, but you can begin with simple geometric shapes, floral patterns, a mandala or repeating patterns to achieve an easy rangoli design.
Mandalas are popular rangoli designs as they’re naturally symmetrical, typically in the form of circular, geometric patterns. They have roots in ancient Sanskrit, with mandala translating to circle, and are used in Hinduism, Buddhism and other spiritual traditions as a symbol of peace and balance. Beginners or children may especially benefit from using rangoli stencils rather than drawing freehand.

How to Make Rangoli Designs with Dots
A traditional method for creating rangoli art is to start by drawing out a grid of dots and using this as a guide for your design. Begin by deciding the design you want to draw, whether it be floral or geometric, then draw dots evenly spaced in a 7x7 grid. Next, join your dots to form different shapes such as triangles, squares and circles, ideally in a symmetrical design. This will form a basic layout of your rangoli.
Once the basic structure is in place, you can start getting creative with the design, overlapping shapes or adding smaller patterns within larger ones, while keeping the overall symmetry. Now, all that’s left is to fill in the design with colours of your choice!

At Ministry of Colours, we’ve got just the thing needed to create easy rangoli designs at home. We’ve worked hard to develop our own rangoli kit, complete with seven vibrant colours in easy squeeze bottles that are perfect for both beginners and experienced artists alike, making it simple to draw precise patterns. We also offer rangoli colour refill sets that are ideal for schools, youth clubs or anyone that needs extra sand for larger groups. With these kits, creating beautiful, colourful rangoli has never been easier. So this Diwali, bring your home or classroom to life, celebrate the festival of lights and enjoy the calming activity of making your very own rangoli art.